
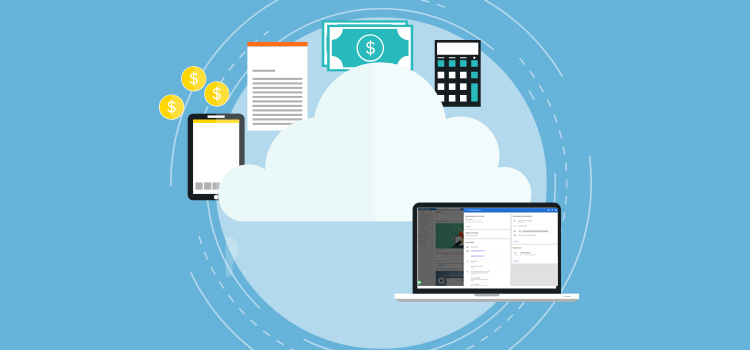
Did you know that it is possible to easily integrate your prebilling system with Omnimed? This allows you to easily transfer information about your appointments and patients to your pre-billing system in order to simplify data entry for RAMQ billing, minimizes transcription errors, and limits the amount of back and forth between the physician and the billing agency.
Prerequisites
- You will need access to the prebilling system from either Fonds FMOQ, Softinfo, Xacte, FMP (Médijuris), MultiD and Facturation.net. Your billing agency is responsible for creating your account.
- You will need a username and a password specific to the prebilling system.
- Your prebilling system must be identified in your Omnimed profile (see steps below).
For Facturation.net users:
- You must request docking with Omnimed at Facturation.net directly via the email address experience_client@facturation.net.
- You do not have to make any configuration in the Omnimed application.
How to configure your profile
To configure the integration between Omnimed and the prebilling system, you will need to:
- Access your user profile in Omnimed by clicking on your name in the blue bar at the top right.
- Click Edit profile.

- Choose the prebilling system in the External system integration section.

- Click on the Save button.
How to access the prebilling information
Once your profile is configured, you can access your prebilling system from three places in the EMR:
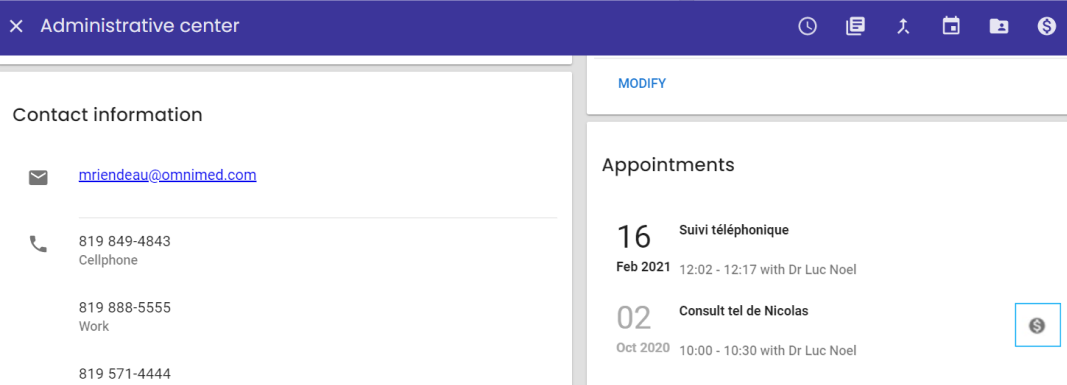
- Prebilling icon (symbol "$") in the upper right corner of the administrative center;
- Prebilling icon in the Appointments section of the administrative center;
- Prebill button at the bottom of the clinical note.
A new tab then opens, and you'll have to connect to the prebilling system.
From the header of the administrative center
The patient information including its RAMQ registration will be transferred in the prebilling system helping you to make your request.

From the appointment
You can also use our feature to send the patient and the appointment information to the prebilling system by clicking on the icon beside the appointment in the administrative center (you can also use this feature from the appointment history). Every appointment must be transferred manually.
From the clinical note
Clicking on the Prebill button at the bottom of the clinical note automatically saves the clinical note and imports the patient information into the prebilling software.

Facturation.net and Xacte offer the option of importing the list of appointments from Omnimed. This action is done from the prebilling system. Contact them to learn how to proceed.
This is the only option for Facturation.net