

Some reports are too big to be generated on the spot. It is, therefore, necessary to plan them in order to be able to receive them by email in the format of our choice.
Steps to follow:
Here are the steps to follow to do so:
1. Access the Reports module. The steps are in the following article: Generate a report.2. In the Reports module, click on Library and search for the report's title in the search tool with one or more keywords.

3. Make a right-click on the report of your choice and click on Schedule. A new view opens.

4. Two options are available, either create a schedule or run now. If you schedule a report, it allows you to choose a date and start time as well as a recurrence if needed. Run now allows you to receive the report as soon as it's ready.

5 . With the Create schedule option, the first tab, named Schedule, allows you to set the time of the sending of the report. You can choose the date and start time and if you want a recurrence. This tab won't be available in the run now option is selected, but this is the only difference between both options.

You can select Immediately to get the report as soon as the download is ready OR choose the date and start time if you want to receive the report more than once. If a recurrence is selected, an end date can be determined.
There are two types of recurrences:
- Simple: Allows repeat sending of the report every [X] days/weeks.
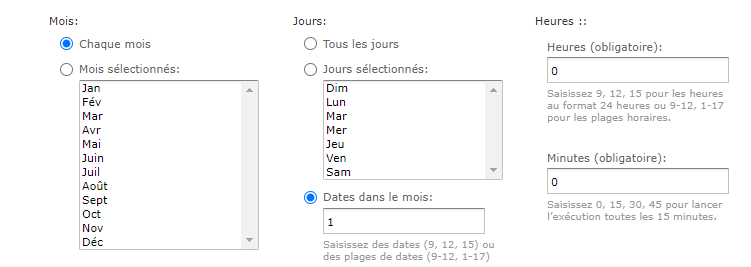
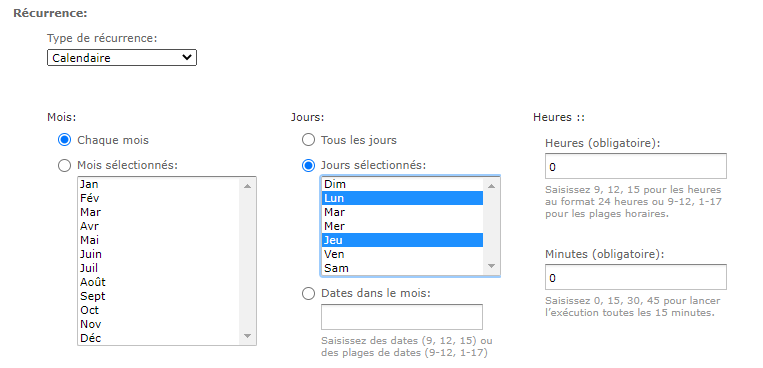
- Calendar: Allows you to choose a frequency based on months, the year and the days of the week.
Examples :
- To get a monthly report on the same date, the Calendar type must be selected with the Every month option, then the day of the week you want to get the report, e.g. ex. 1 (for the first of the month).
- To get a weekly report on Mondays and Thursdays, the Calendar type should be selected with the Monthly option, then Mon and Thu days. Multiple days and months can be selected by pressing the CTRL key on the keyboard.
6. Proceed to the next tab to determine the settings to apply to the report. If some parameters need to be selected, you will be able to do so in this tab. It is normal if this tab is unavailable, it only means no parameters can be selected for the report.
7. The Output Options allows you to choose the report file type and where the report will be saved on our servers.
- The file name will automatically be populated with the report title. The file name cannot contain spaces, commas, periods or any other special characters. You might want to customize the name if, e.g. you schedule the same report, but for different stakeholders.
- The description is optional. It appears next to the title in the list of reports.
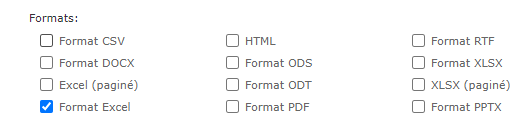
- Choose the desired file type (the most frequently used are PDF or Excel). The Excel format allows you to play with the data afterwards, unlike the PDF file.
- You can also indicate whether you want to overwrite files or keep copies of previously generated files. By choosing the Replace option, reports with the same title that were previously obtained will be erased and replaced with the most recent version of the report.
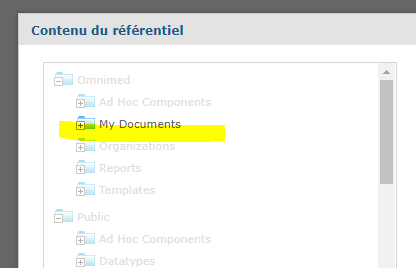
- Finally, you must choose the output repository that corresponds to where the file is hosted on our servers. It is important to choose an outing in your institution's folder, otherwise you will not be able to save the file. To do this, click on Browse and choose your institution (by clicking on the + in front of the name of your clinic, displayed above Public), then My documents and finally Select.
8. The last tab, Notifications, allows you to fill in the recipient and subject fields to receive the email. You can include a message if desired.
⚠️ As we work with sensitive data, make sure to choose the Include reports as repository links option in the message body. Thus, a link will be included in the email. In order to be able to download the report, you will need to log into the EMR.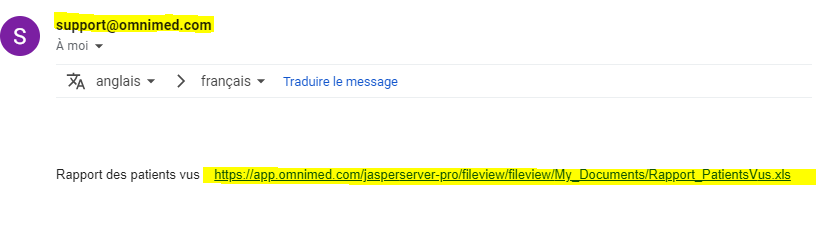
9. Finally, click Save to start the schedule. A title should be added. This title is the one displayed in the establishment schedules list.
Related articles