
Omnimed, in partnership with several specialized physicians around Quebec, put in place a new pilot project of eConsults. This project gives access to the first-line physician's electronic files to second-line physicians in order for them to collaborate together.
The shareable feature of Omnimed's EMR allows different healthcare professionals to work and determine the proper conduct following the available information in unique patient files.
Please note that the goal is not to replace the traditional consultation mechanisms in specialized medicine, but to provide a new tool to allow the first-line physician to have help from the second line for cases that do not clearly need an in-person visit for the patient.
How-to guide
Respond to an electronic consultation request
You will receive an email when one or more requests are assigned in the task queue for your specialty or to you directly. The email has been configured to be sent to you at a specific frequency. It should not be sent to you if there is no request (if so, contact us).
-
Log into Omnimed at app.omnimed.com/omnimed
-
Access the Tasks module in the left menu.

-
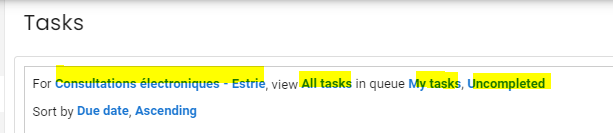
Review the tasks that are assigned to you. You can receive tasks either in your own name or in the task queue that is named after your specialty.In order to access all of your tasks, your filters must me set this way:
* Please note that if you are a consulting doctor for more than one region, you'll have to change institution to view the list of tasks for each region. -
To visualize the task, click on its title. In the following example, you would need to click on Task test.

- Access the patient file associated with the task, by clicking on his name. In the example above, it would be Alexandra Test Veilleux.
If you click on the checkbox at the left of the task, this will mark the task as done and make it disappear from the current view. If this happens and you want to locate the task, you can adjust the filters Completed/Uncompleted to find it.
Please note that you will need to click on ''Limited record access'' to have access to all patient information. The consent was obtained by the general practitioner prior to sending the task).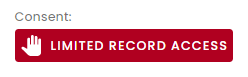

8. Add the clinical note tag Electronic / telephone consultation to the note to help find it later.

9. Once your note is completed, you must click Save or Complete. Make sure that a title and a conclusion were added to the note in order to facilitate the overview of the patient record. Completing the note is like signing a note on paper and means you might have to add things later to it.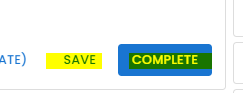
10. Once the note is completed, it is time to notify the family doctor that you have completed the consultation. Go back into the Tasks module, as described in step
11. Click on the task's title and then on Reply.
Write a comment in the Add a comment field and click the Send button. Your comment can simply be Consultation completed or See note in the file.